MetaMask is a free web and mobile crypto wallet with over ten million active monthly users. MetaMask was launched in 2016 to provide support for the Ethereum network, allowing users to store and swap cryptocurrencies, host a rich suite of decentralized applications like yield farming protocols and NFT marketplaces, token swap applications, and play blockchain-based games.
Aiming to establish an interoperable and interconnected Web3 ecosystem, MetaMask has expanded to support the entire EVM (Ethereum virtual machine) ecosystem with Binance Smart Chain (BSC) and other networks, such as Fantom, Cronos, Avalanche, and Polygon also referred to as the Matic network.
Polygon is an Ethereum Layer 2 scalability solution created to address Ethereum issues like slow transaction speeds, expensive gas prices, and limited developer options. Polygon offers excellent functionality and the fastest transaction speed of almost 65,000 transactions per second. It provides a network that offers interoperability with all the present and future infrastructure scenarios for ETH and the new Layer 2 solutions.
Connecting your MetaMask wallet to the Polygon Network allows you to transfer assets to this network through the Polygon Bridge. The Bridge enables you to create scalable DApps with higher speeds and affordable costs easily.
This article will show you how to add Polygon to MetaMask for a seamless DApp experience.
How to Add Polygon Network to MetaMask?
There are two methods for adding Polygon Network to MetaMask.
- By using Polygonscan
- Manually
How to Add Polygon (MATIC) Network to MetaMask Using Polygonscan?
This is the quickest and easiest way to add Polygon Network to MetaMask. However, you cannot use it with the MetaMask mobile application.
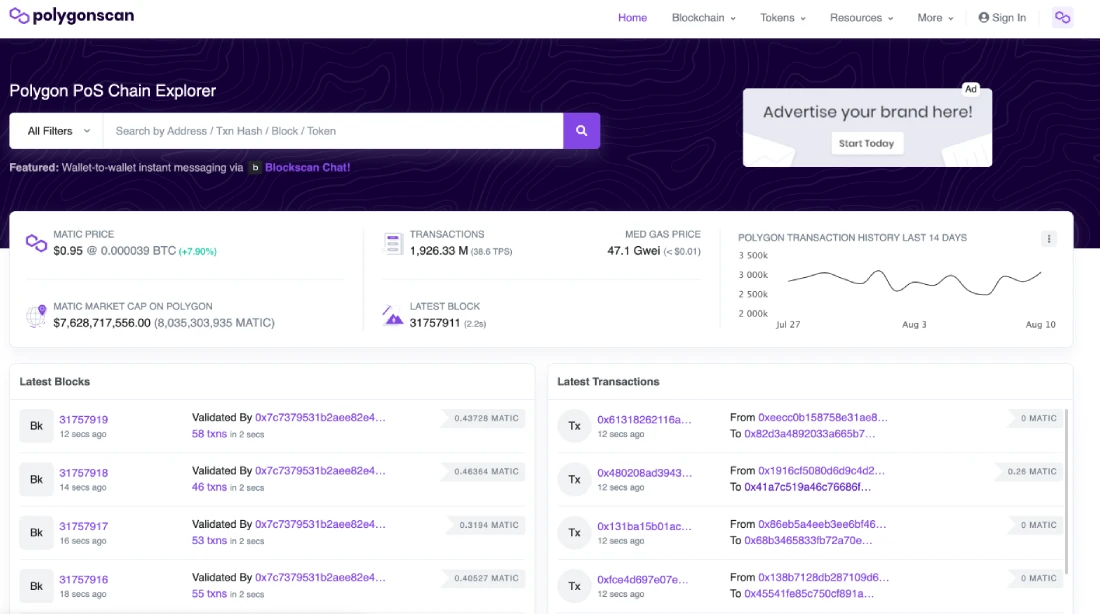
Step #1: Navigate to the Polygonscan Website
Go to the Polygonscan website and scroll down to the web page's bottom.
Polygonscan is a Polygon blockchain explorer enabling users to look at transactions, addresses, tokens, and other activity on the Polygon blockchain.
Step #2: Add Polygon Network
Scroll down to the bottom of the webpage and click on Add Polygon Network.
Step #3: Approve on MetaMask
When you click Add Polygon Network, an approval notification will pop up in your MetaMask wallet. By clicking on Approve, MetaMask will automatically import the Polygon network's name, URL, and chain ID, and you'll be instantly switched to Polygon's Mainnet.
How to Manually Add Polygon (MATIC) Network to MetaMask?
Follow these simple steps to connect MetaMask to Polygon (MATIC) manually:
Step #1: Install and Setup MetaMask Wallet
If you don't have a wallet, the first step is downloading and installing MetaMask, which is available as a browser extension for Chrome, Firefox, Brave, and Edge and as a mobile app for Android and iOS. For this article, we’ll focus on MetaMask's browser version for Chrome.
Always use the official MetaMask website to ensure you get the genuine MetaMask extension.

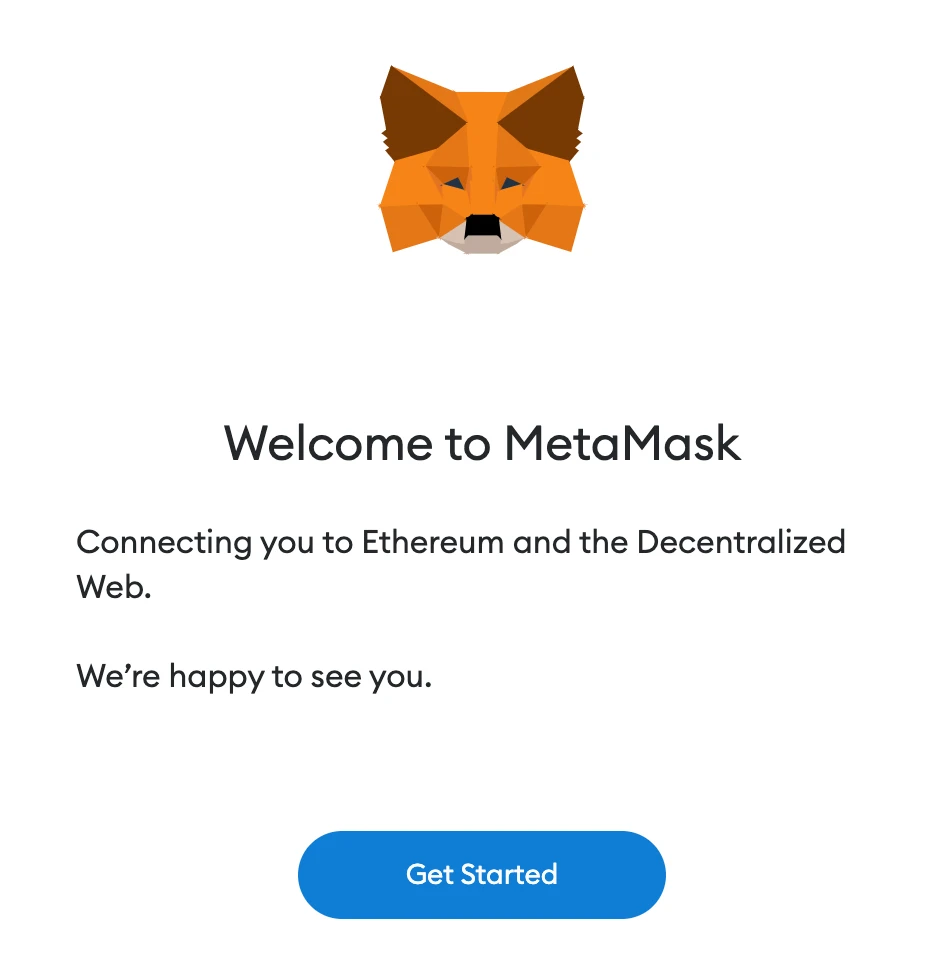
After downloading and installing the extension, the MetaMask welcome page will appear. Click Get Started to begin.
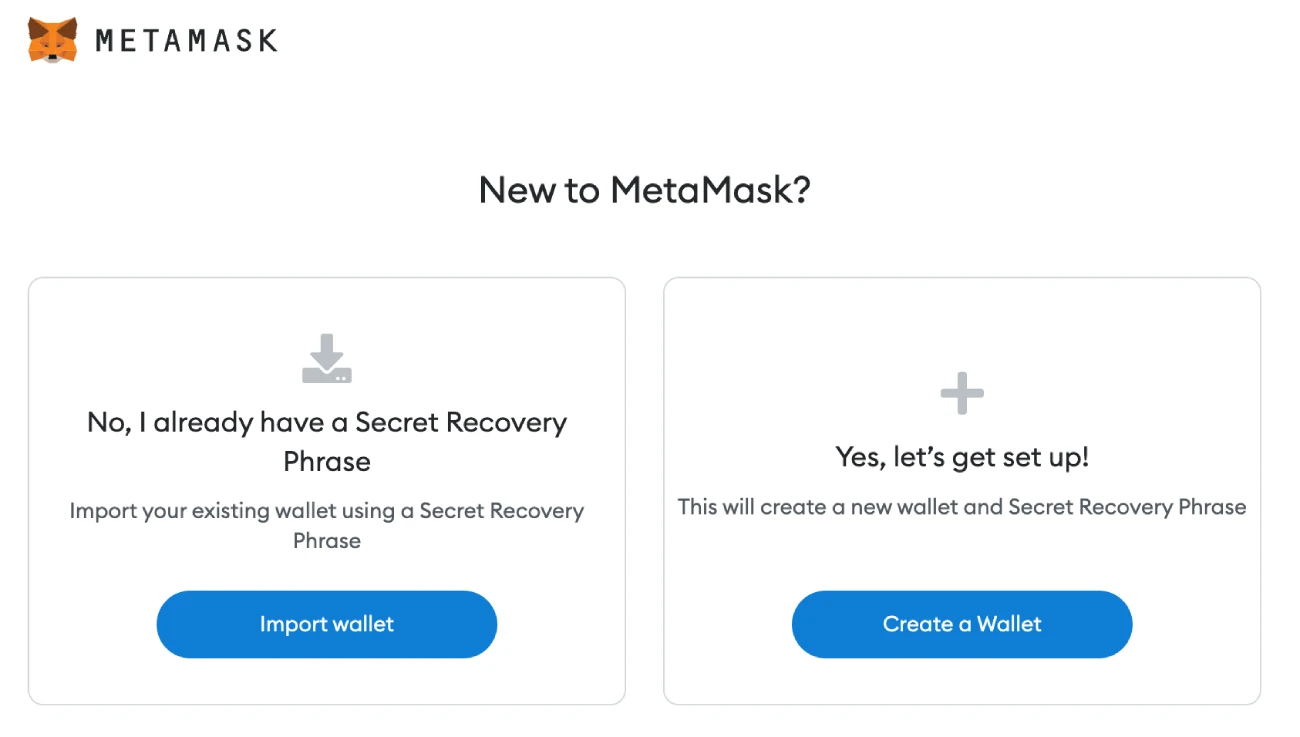
For creating a new wallet, click on Create a Wallet. You can also click on the Import Wallet to import your old wallet by entering its seed phrase.
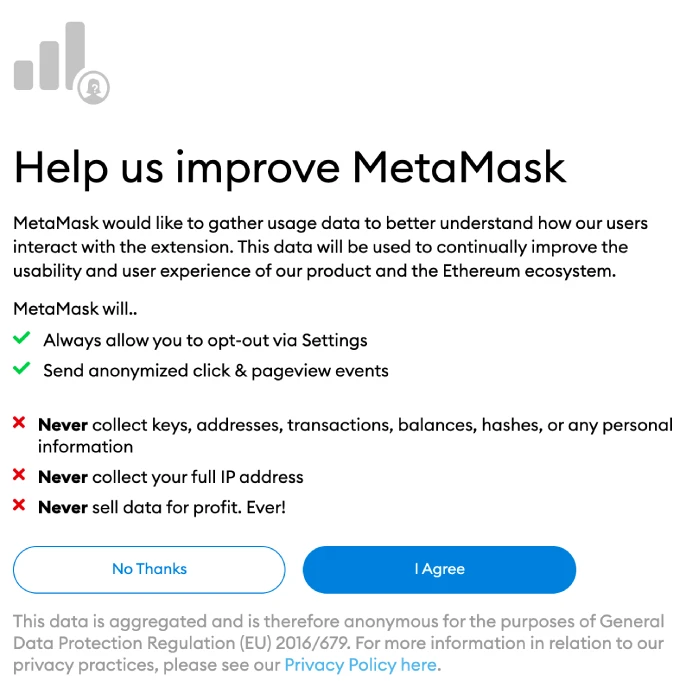
You can accept or deny MetaMask's suggestion to share anonymous use statistics with them to help develop the addon.
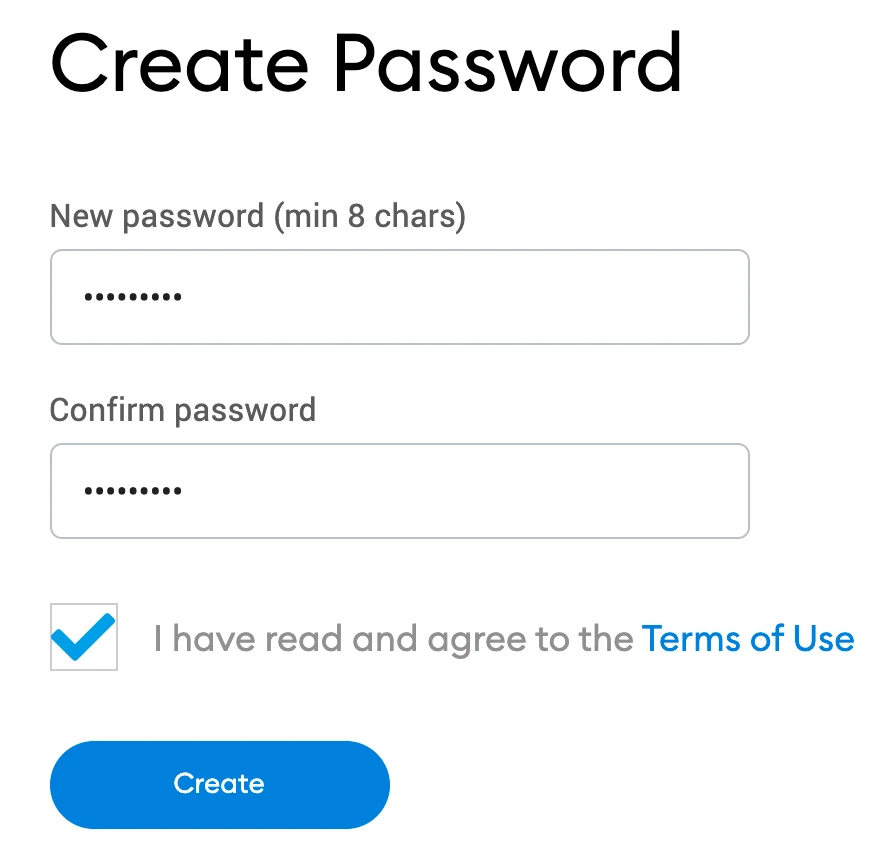
To log in to your wallet from your browser, you must create a secure password to prevent unauthorized access to your wallet. You can always use your seed phrase to access your crypto if you forget your password.
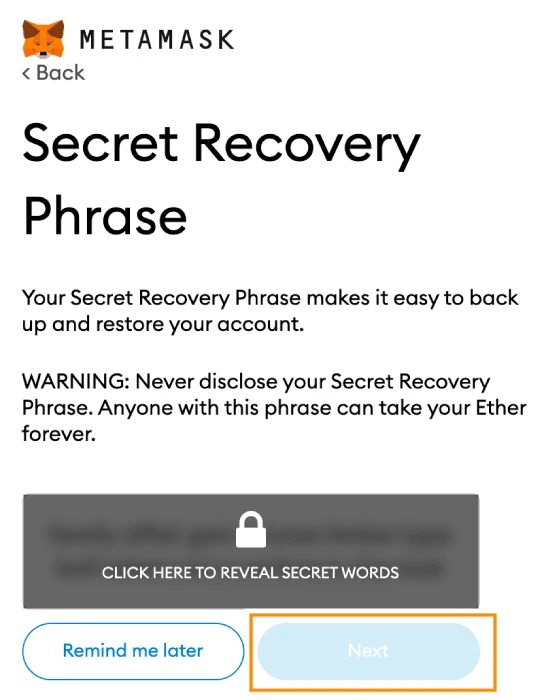
Following your password creation, MetaMask will provide information about your wallet's seed phrase.
Your seed phrase will now be displayed, so you must click on the lock to see it and write them down in the correct sequence. Remember never to reveal the phrase to anybody and keep it in a safe location (ideally offline). To move forward, click on Next.
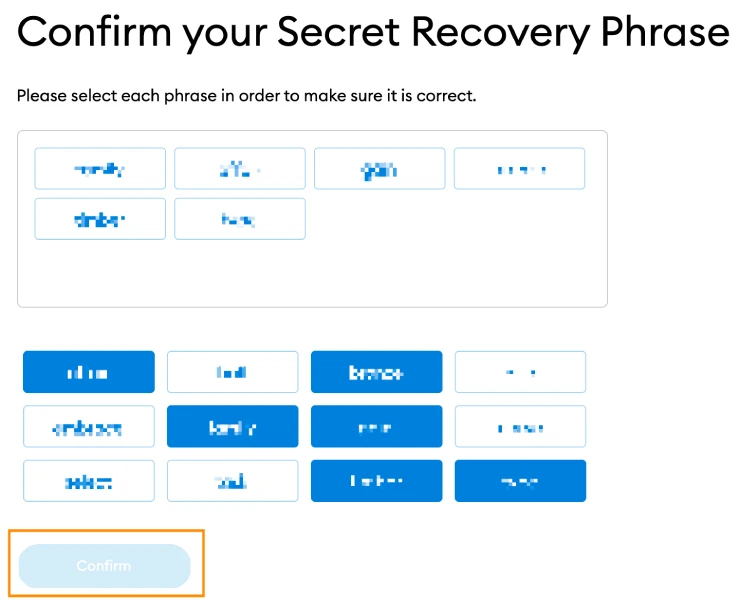
Repeat your seed phrase by clicking on the words at the bottom of the screen in the correct order. Once you've finished, click on Confirm.
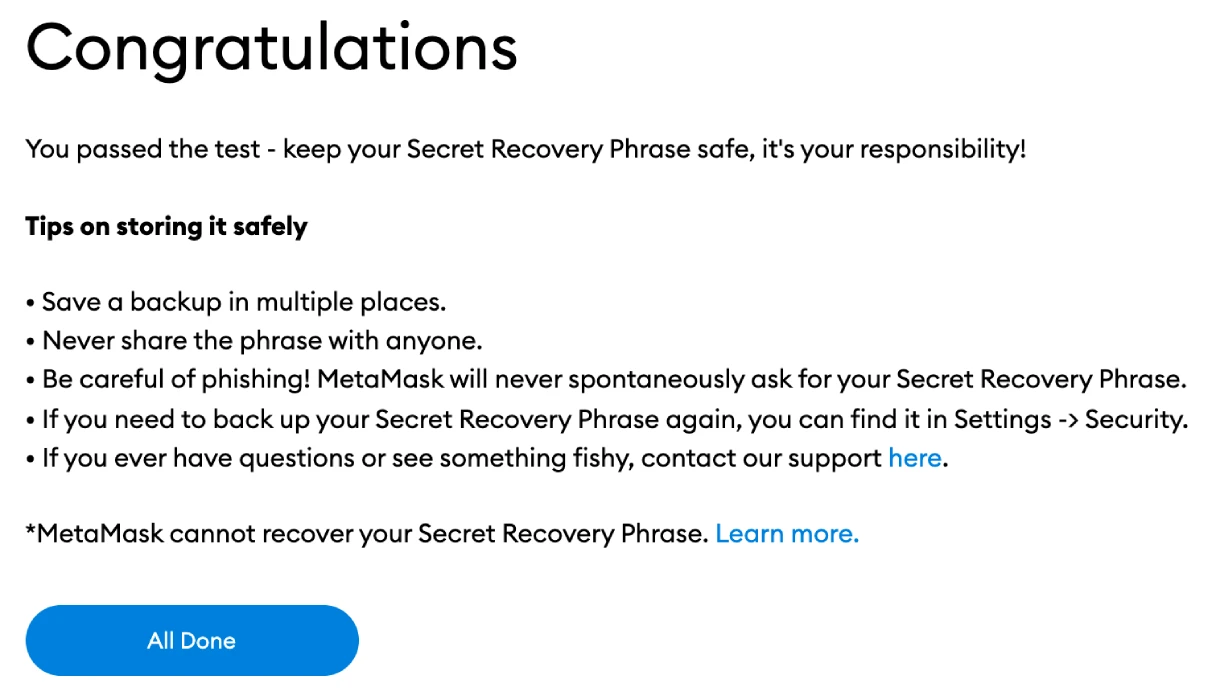
Your MetaMask wallet is now configured and ready to use. To view your wallet, click on All Done.
To make MetaMask easily accessible, pin it to your Chrome browser by clicking the puzzle symbol and pinning MetaMask to the toolbar. MetaMask will be connected to Ethereum Mainnet by default after the initial setup.&
Step #2: Wallet Configuration
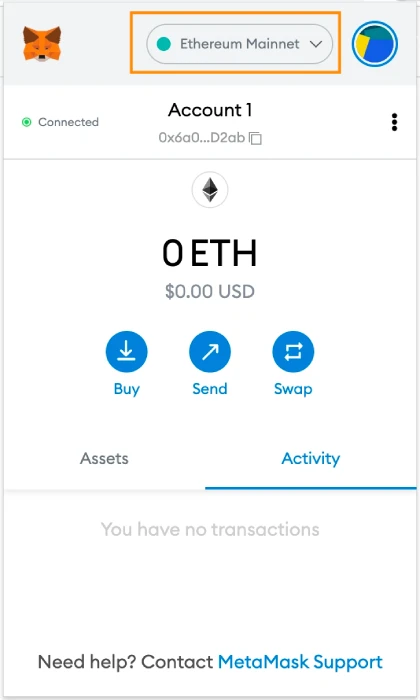
To connect Metamask to Polygon, you must add certain network information to the extension. Launch MetaMask and select the network option from the dropdown menu.
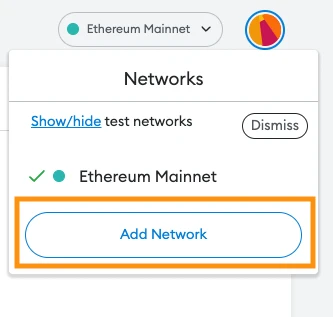
Click on Add Network.
Step #3: Add the Polygon Network Manually
After clicking on Add Network, a new window will open, enabling you to enter details of the custom network manually. In the Settings tab, copy and paste the following information:
Polygon (MATIC) Mainnet
Network Name: Polygon Mainnet
New RPC URL: https://polygon-rpc.com/
Chain ID: 137
Currency Symbol: MATIC
Block Explorer URL (optional): https://polygonscan.com/
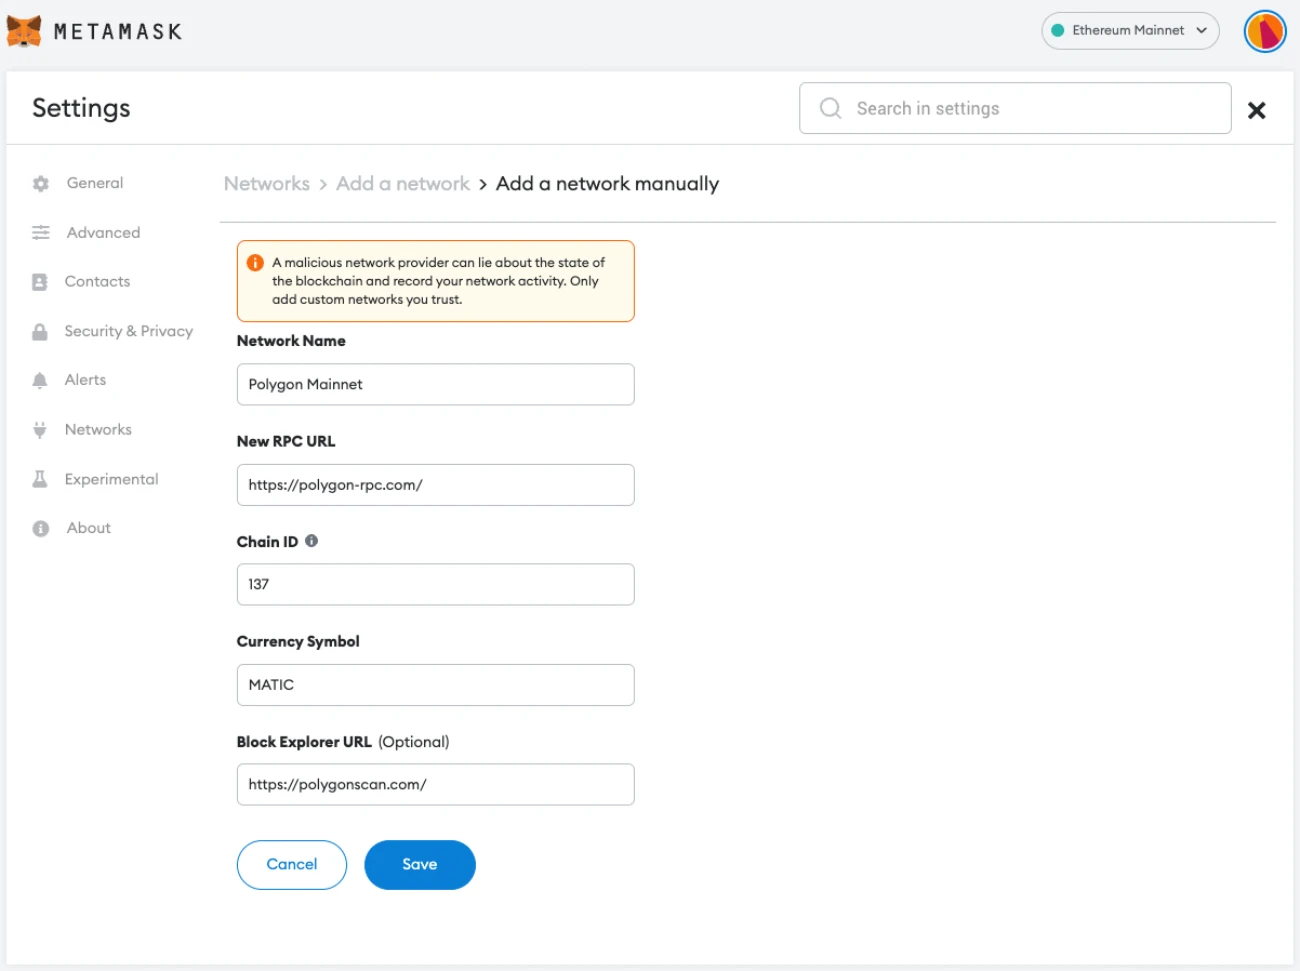
Note: Remember only to use the authentic MetaMask Network.
After entering the above information, click Save, and the Polygon Network will connect to your MetaMask. You have now established a secure connection with the Polygon network.
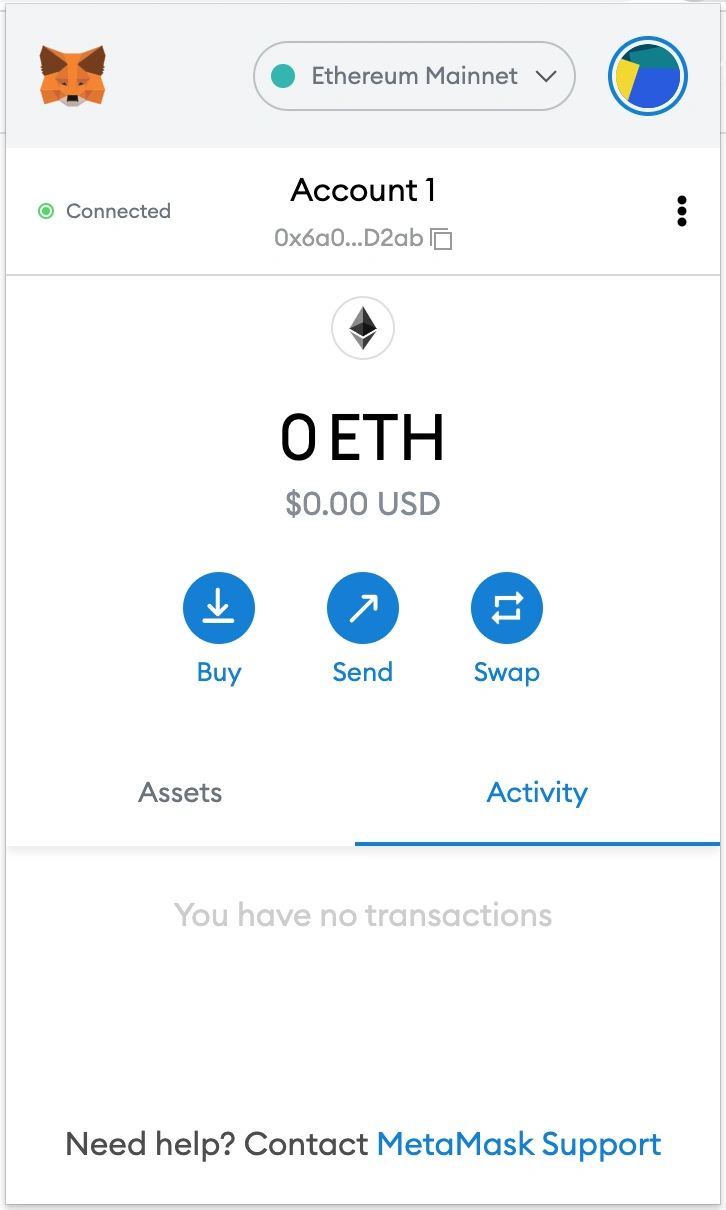
Navigate to your MetaMask wallet to confirm that you have successfully added the Polygon Network.
The MATIC icon will appear next to the MATIC balance in your MetaMask wallet.
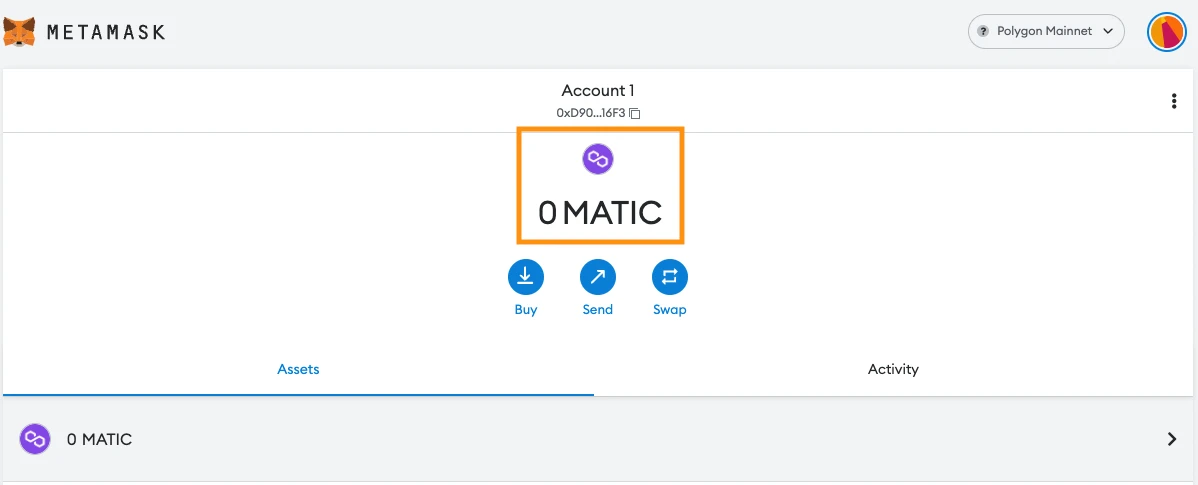
If you can see the 'Polygon Mainnet' on the network selection dropdown menu, you've successfully added it to MetaMask.
How to Add Custom Tokens to MetaMask?
Now you can use your MetaMask wallet with the Polygon Network. To add a custom token not available on MetaMask, follow these simple steps:
Step #1: Search for the Token’s Contract Address
Navigate to PolygonScan, search for the token, and copy the token's contract address. If the token isn’t on PolygonScan, try Etherscan or the token’s official site to find its social contract.
Step #2: Add Custom Token
Return to your MetaMask wallet homepage, and click on Import Tokens from the Assets tab on the bottom. Switch to Custom Tokens at the top, and enter the token’s contract address.
If the token symbol and decimal don't autofill automatically, go to the network's block explorer and find the token. Click Add Custom Token and Import Tokens to finish the process.
The newly added token will be displayed in your MetaMask wallet.
Note that your wallet can still receive tokens that haven't been imported.
Grow Your Crypto With CoinStats Premium
Explore CoinStats without limitations and you'll never want to go back.
Closing Thoughts
With Polygon connected to MetaMask, you can start making transactions, collecting NFTs, engaging with DeFi DApps, and managing your cryptocurrency. Even swapping tokens is possible without leaving the extension.
MetaMask supports not only the Ethereum network and Polygon but also the entire Ethereum Virtual Machine (EVM) blockchain ecosystem, including Binance Smart Chain. By following our instructions, you're now ready to connect more chains and start exploring the DeFi world.
We hope our guide on how to add Polygon to MetaMask has helped you gain a fundamental understanding of the steps involved in linking MATIC to MetaMask.
You’re welcome to visit our CoinStats blog to discover more about DeFi’s tectonic shift in the finance sector and how decentralized finance empowers people.
Investment Advice Disclaimer: No part of the content that CoinStats provides constitutes financial advice, legal advice, investment advice, or any other form of advice meant for your specific reliance for any purpose. Any use or reliance on our content is solely at your own risk and discretion. You should conduct your own research, review, analyze and verify our content before relying on them.&

You can get bonuses upto $100 FREE BONUS when you:
💰 Install these recommended apps:
💲 SocialGood - 100% Crypto Back on Everyday Shopping
💲 xPortal - The DeFi For The Next Billion
💲 CryptoTab Browser - Lightweight, fast, and ready to mine!
💰 Register on these recommended exchanges:
🟡 Binance🟡 Bitfinex🟡 Bitmart🟡 Bittrex🟡 Bitget
🟡 CoinEx🟡 Crypto.com🟡 Gate.io🟡 Huobi🟡 Kucoin.


Comments